Using the screenshot function
1.Function introduction
The screenshot function is only supported on the desktop. You can use the screenshot tool in the chat to take screenshots, add labels, mosaics, text or draw graphics to the screenshots.
2. Operation process
2.1 Screenshots
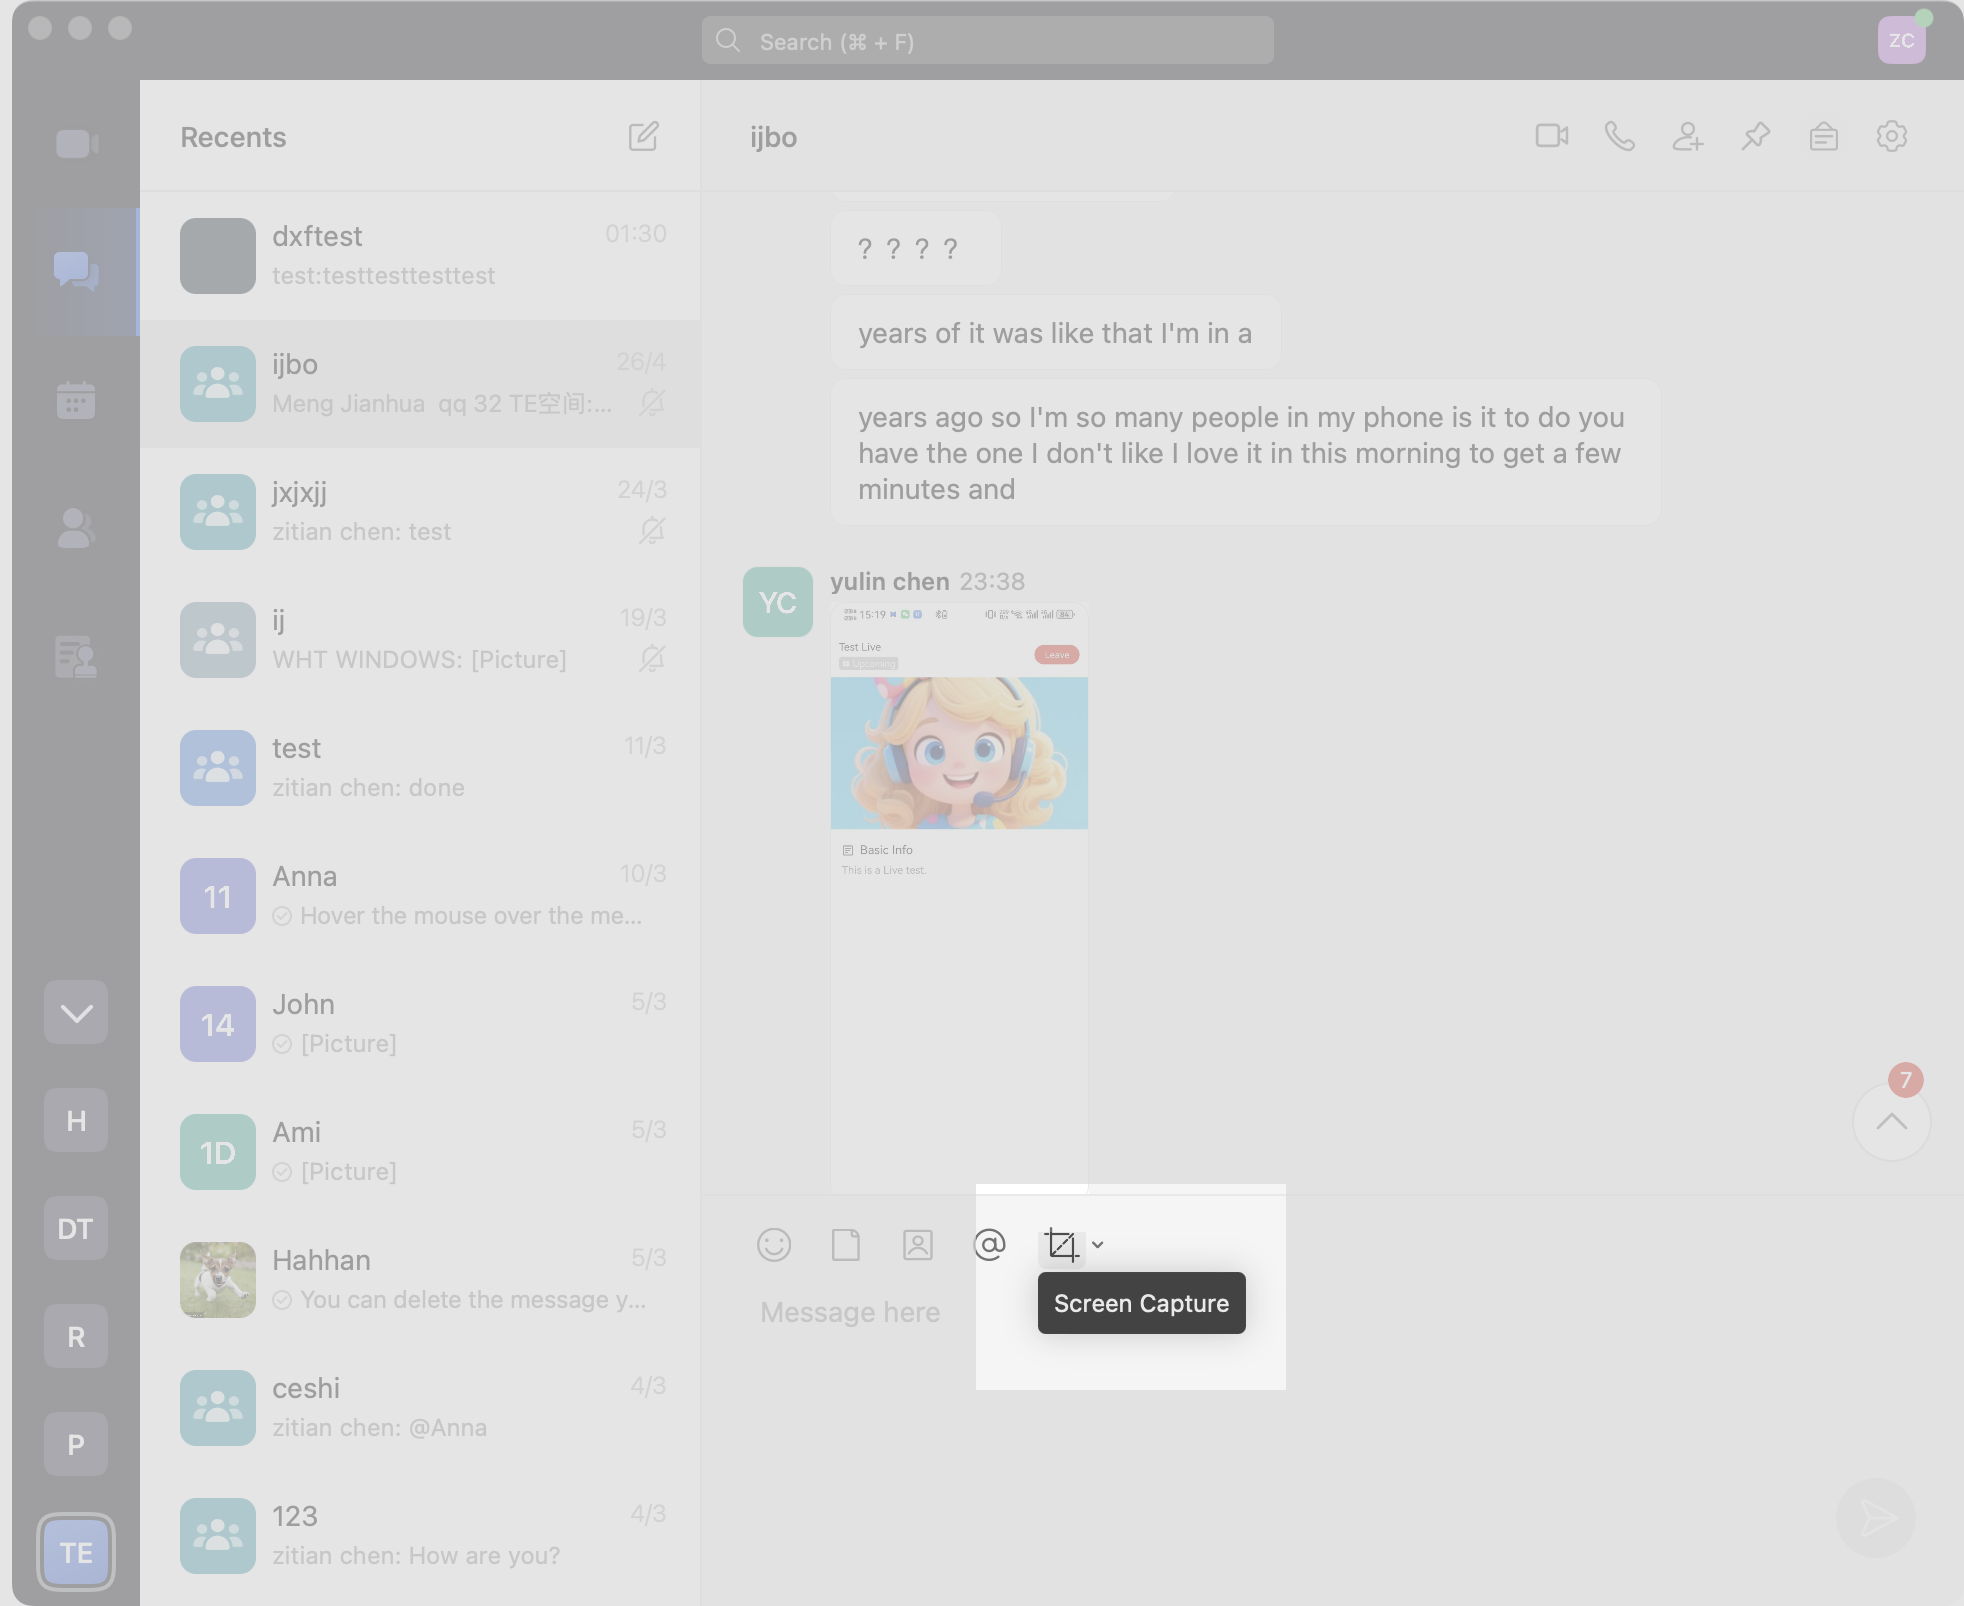
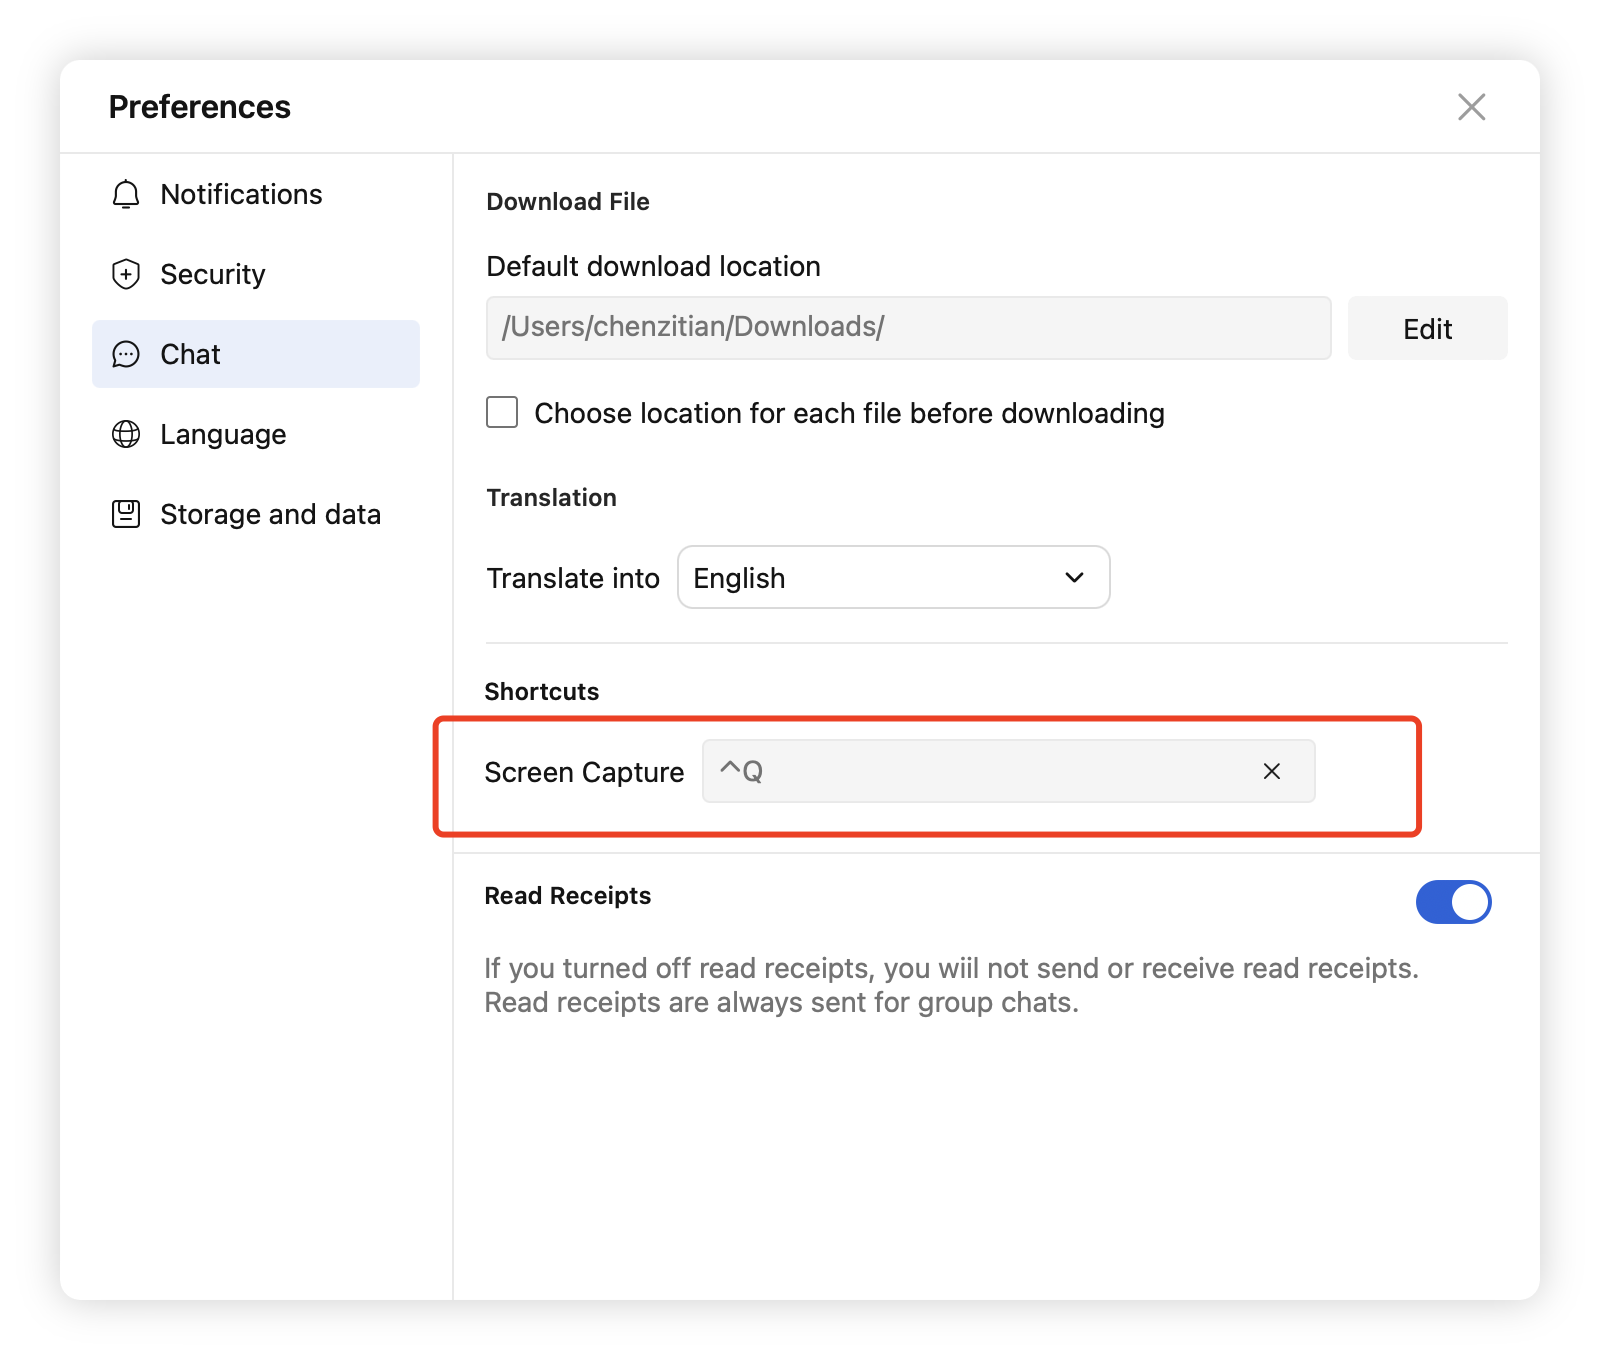
You can take screenshots in the following 2 ways: Take screenshots using the default shortcut keys. Windows system: Ctrl + Q. macOS system: Ctrl + Q. Note: You can also customize the screenshot shortcut keys. Click the Screenshot icon in the message input box on the conversation interface to start taking screenshots.
2.2 Add mosaics to screenshots
Brush mosaic: Click Mosaic at the bottom of the screenshot toolbar, select Brush Mosaic and drag the mouse cursor to code. You can select the brush thickness in the toolbar below.
2.3 Drawing shapes in screenshots
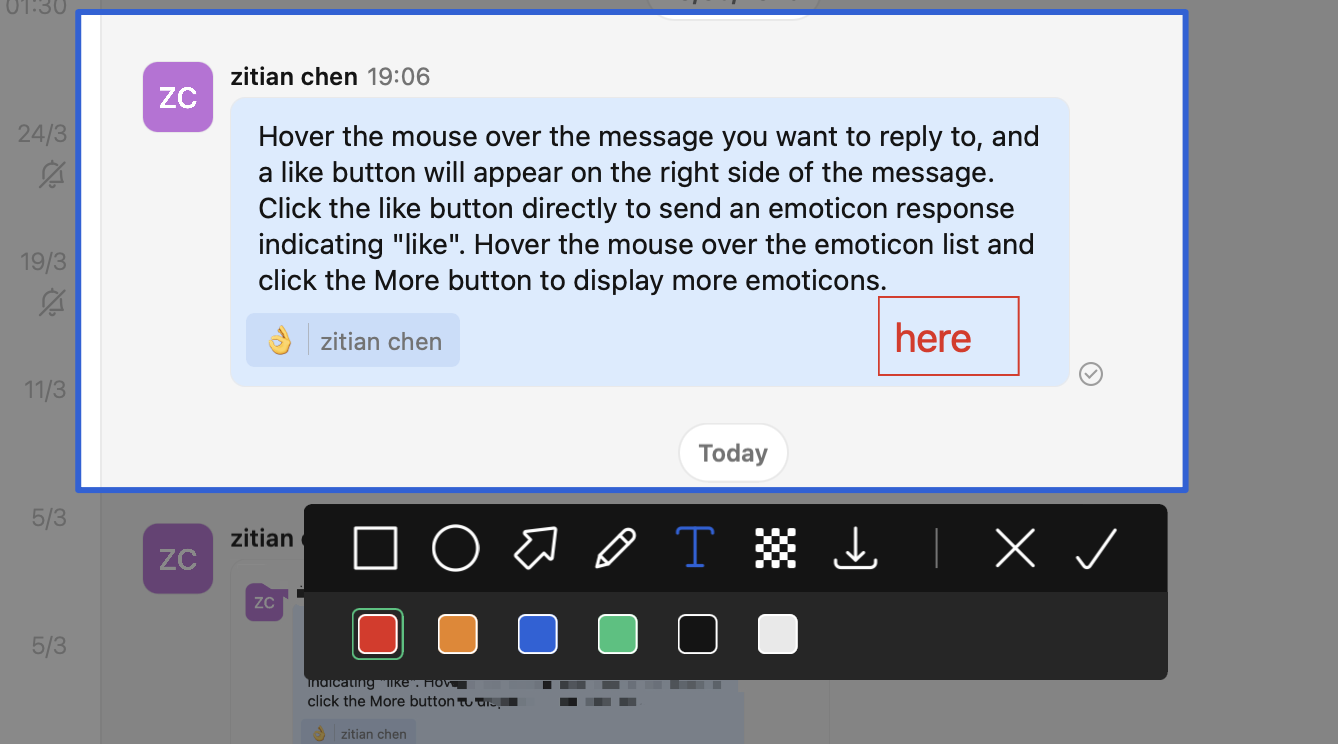
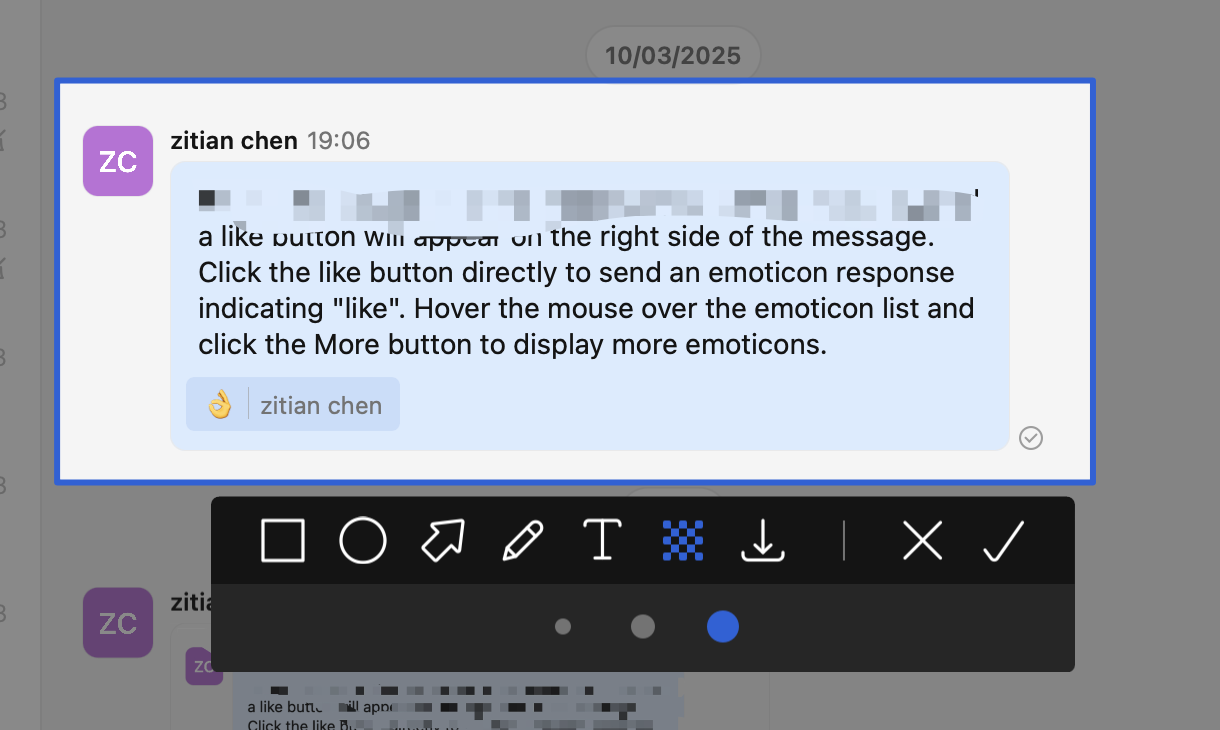
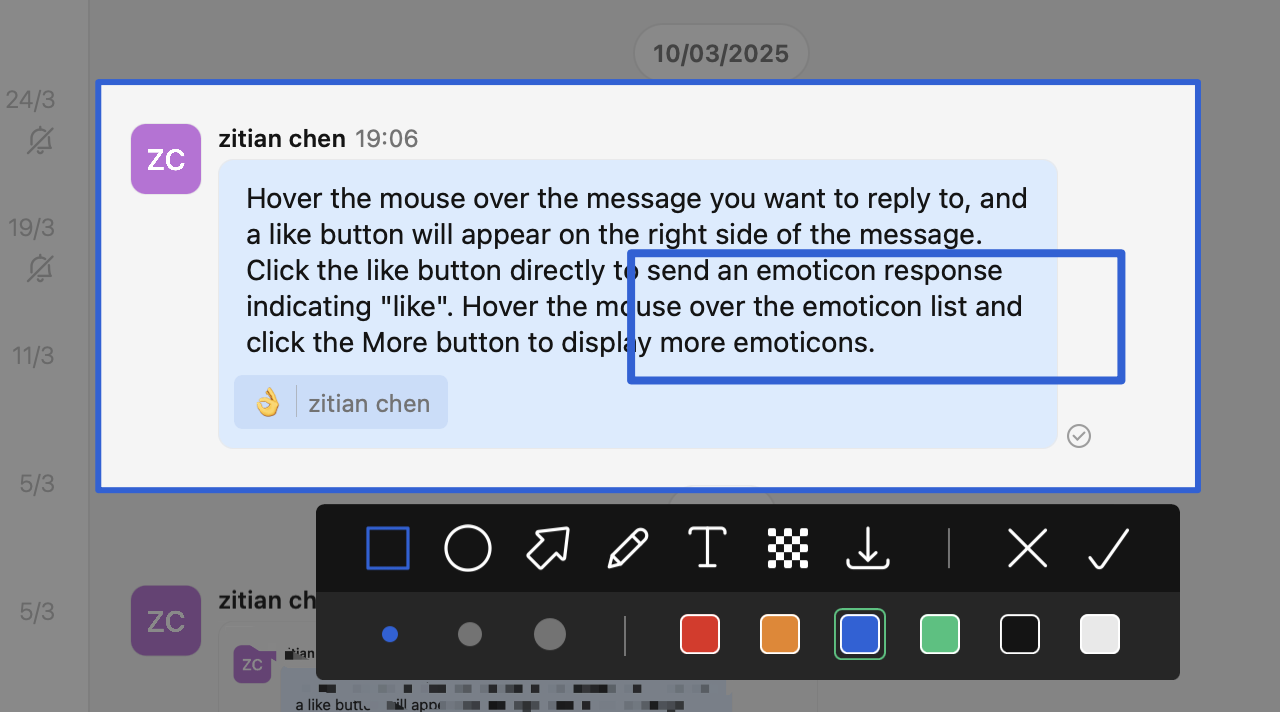
Click on the rectangle, ellipse, arrow or brush below the screenshot to draw within the screenshot.
The toolbar below the graphic allows you to select the line thickness on the left and the line colour on the right.
2.4 Adding text to a screenshot
Click Text in the Screenshot toolbar and then click anywhere in the screenshot area to add text.
Text The size and colour of the text can be selected in the toolbar below.